
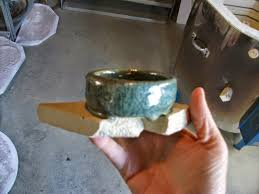
Why make test tiles?
There are many benefits to having test tiles for glazes. It allows you to test combinations of glazes easily and inexpensively, and serves as a permanent reminder of what a glaze looked like on a certain clay before you add it to your finished work. Test Tile Thursday # 1
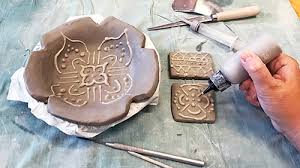
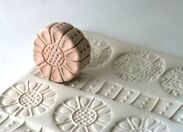
Impressions Follow the directions below Test Tile Thursdays
|
Content Objective
Students will:
Students will: Define the elements of art and principles of design with a partner through test tile making and drawings in their sketchbooks
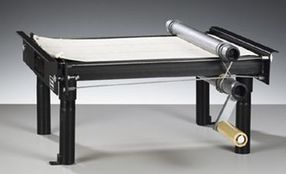
How to Roll Using Slats & Hand Roller or Slab Roller Clay described as Butter SOFT SLAB (butter on the counter) - very soft, malleable, sticky LEATHER HARD (butter that is refrigerated) - rigid, motionless, cool Bone Dry (butter from the freezer) - brittle and fragile |
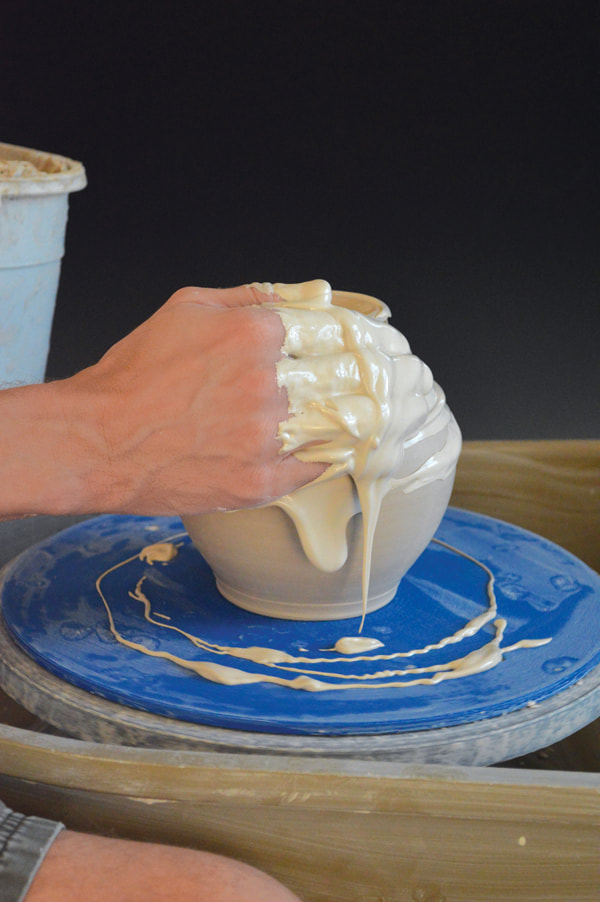
Glazing

Test Tile Thursday # 2:
Glazing your cup from the first day or a piece of bisque if you were not here.
Glaze you cup/bisque following the directions below.
Glazing your cup from the first day or a piece of bisque if you were not here.
Glaze you cup/bisque following the directions below.

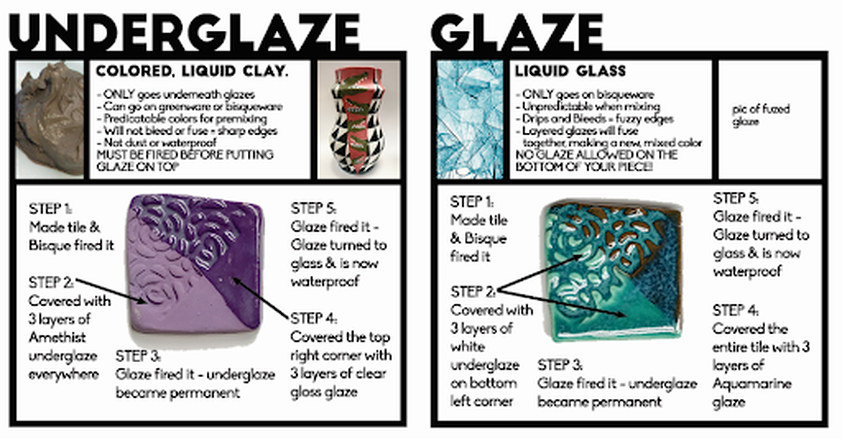
Glaze: A silicate (glassy-like) mixture with water that is applied to clay surfaces and melts into a glassy coating when fired.
|
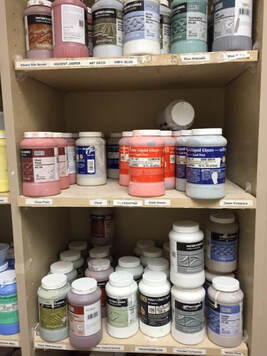
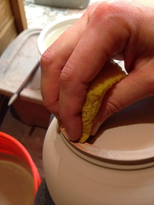
Lift Glaze Jar from side of jar NOT the lid!
|
|
Stages of Dryness and Firing Below
Back-Greenware Mugs Front Left: Bisqueware Mug-Stage to apply glazes Front Right: Glazeware Mug 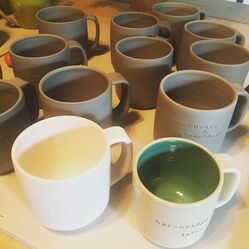
Wipe the glaze off the bottom and 1/4 inch up the side or it will melt to the kiln shelf-below.
|
Applying Jar Glazes:
|

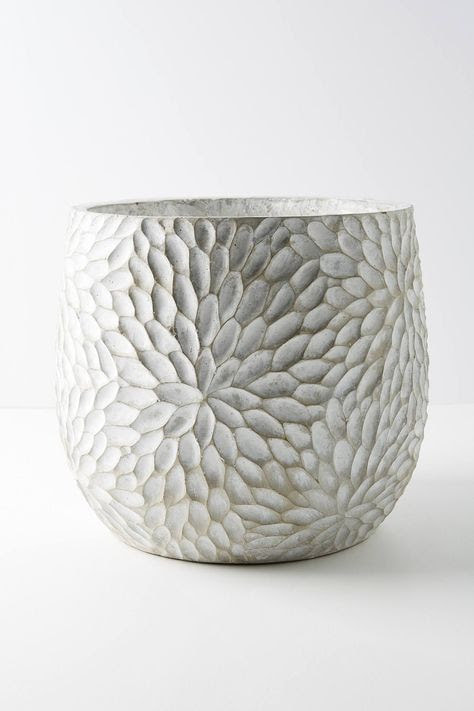
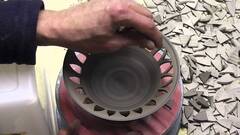
Impressions: Pressing in Clay
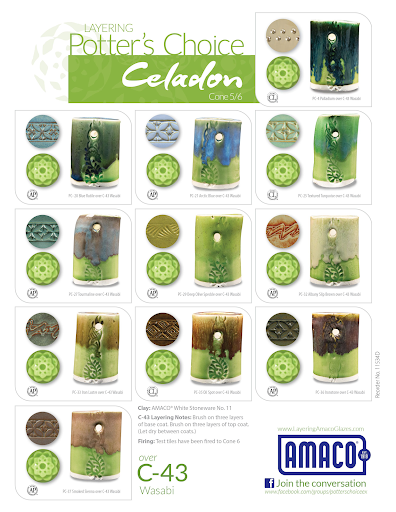
Test Tile Thursday # 3: Layering Glazes and Incising,Carving and Fluting
AMACO Layering Website
AMACO Layering Website
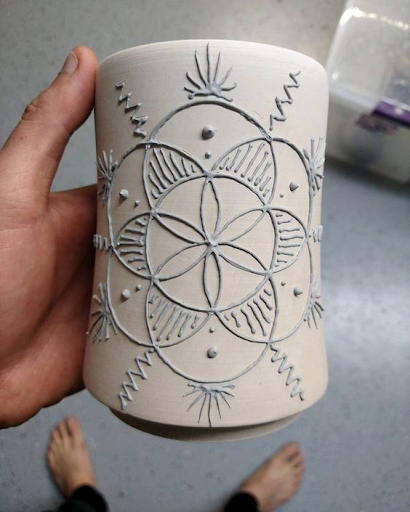
Part One-Incisiing, Carving and Fluting
- Use the pre-made leather hard slabs or See the demo and/or videos above to see how to roll out two or more small slabs (an even flat piece of clay) of clay. You can use a cookie cutter to cut a shape or you can cut a square.
- Put the slabs by the fan to get leather hard, flip after 5-10 minutes.
- When slabs are leather hard, incise or carve into the clay.
- Write your name and class shape on each slab.
- Take a photo to upload to Google Classroom-Test Tile Thursday #3- In-progress
- Put in kiln room.
- Glaze when the come out of the bisque kiln.
- When out of the glaze kiln upload to Google Classroom, Test Tile Thursday #2- Final
- Glaze Layering: see website, use your Impression Test Tiles from Last Week
- Layer your glazes, experiment!
- Record in your glaze records.
- Put on glaze shelf
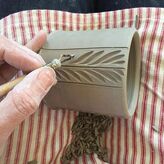
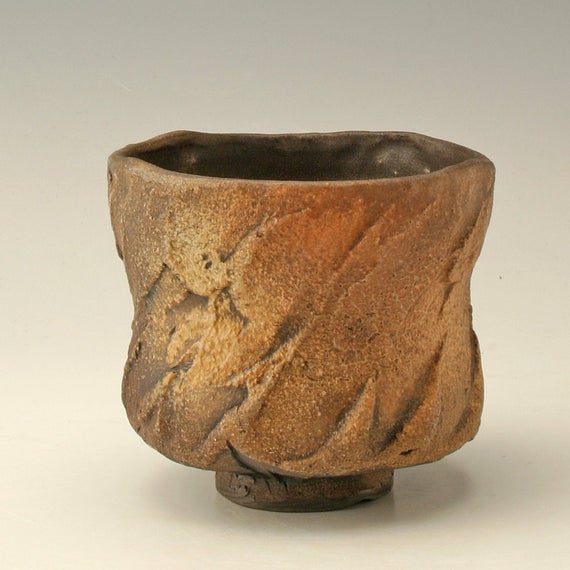
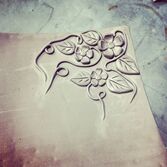
Incising, Fluting, Carving Clay: carving in clay

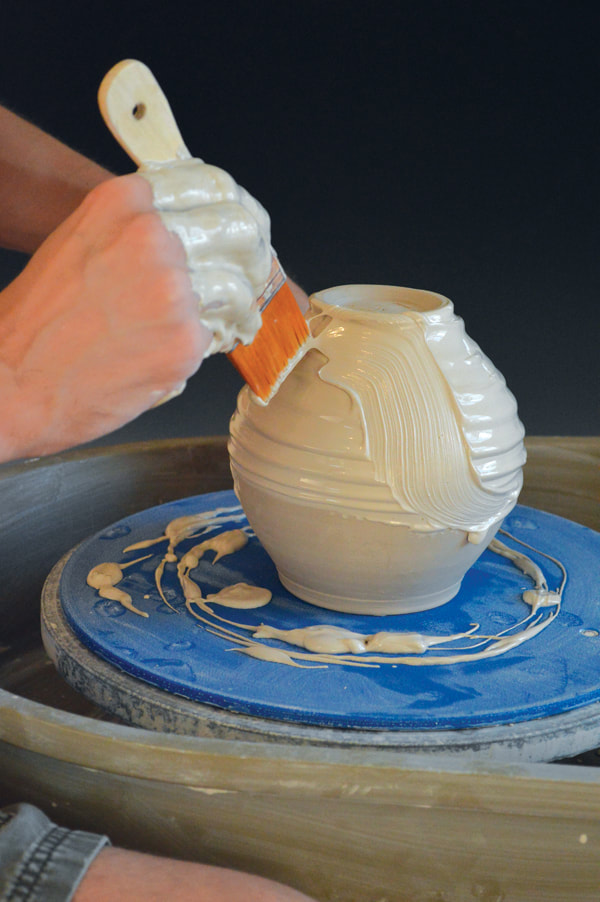
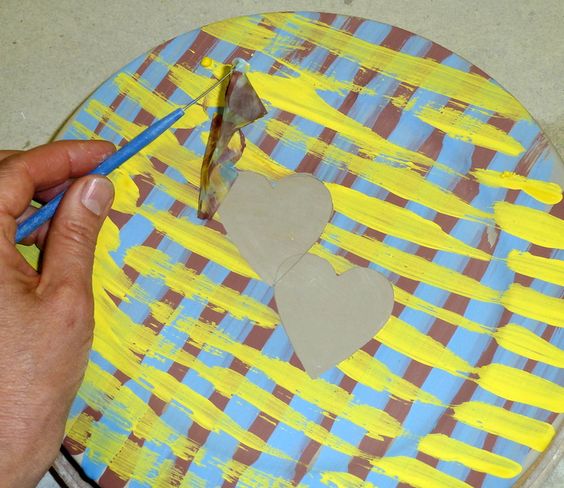
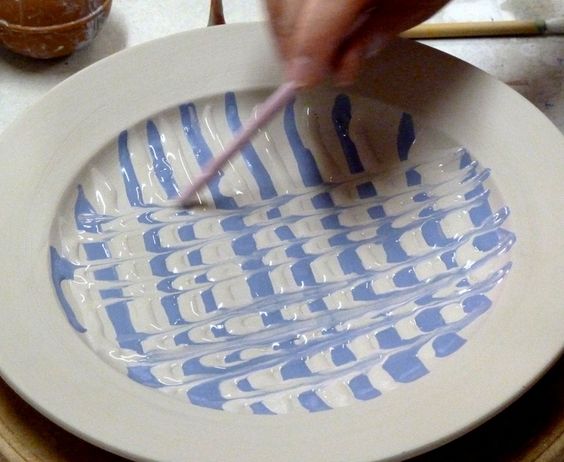
Test Tile Thursday # 4: Slip Brushwork and Slip Trailing
Create at least two test tiles using slip brushwork and slip trailing.
Create at least two test tiles using slip brushwork and slip trailing.
Slip Brushwork: applying plain or colored slips to wet clay for texture.
|
|
|
|
|
Slip Trailing: is the application to a clay surface of lines of slip using a fine-pointed dispenser.
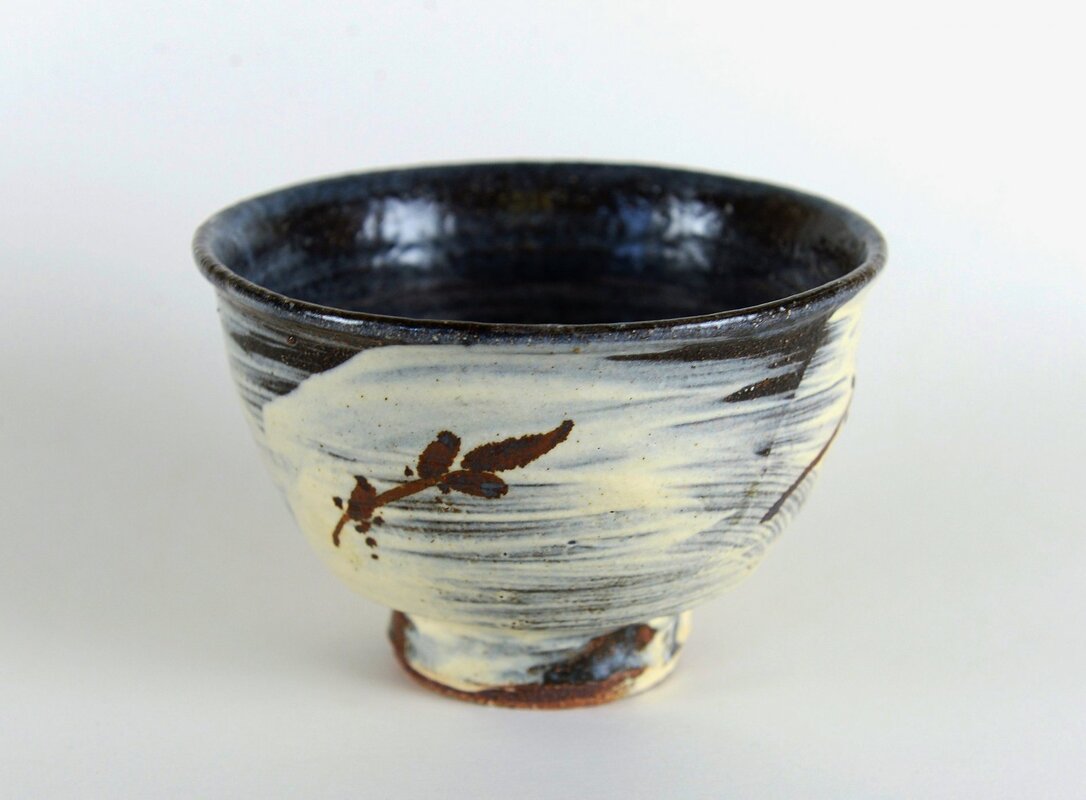
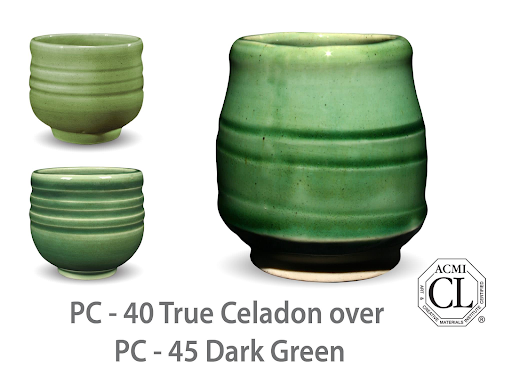
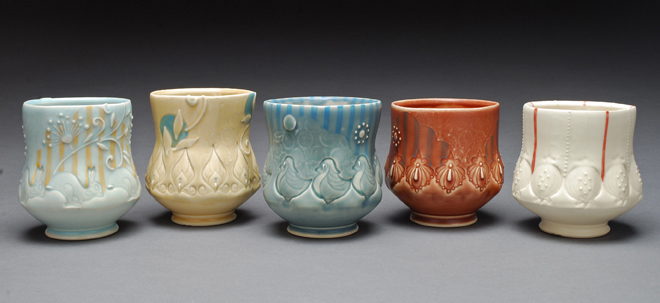
Test Tile Thursday #5: Celadons
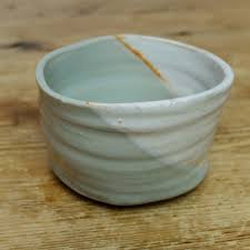
- Teabowl with White Slip Brushwork and Celadon Glaze
Use your Bisque Fired Slip Brushwork and Slip Trailing
test tiles from last week.
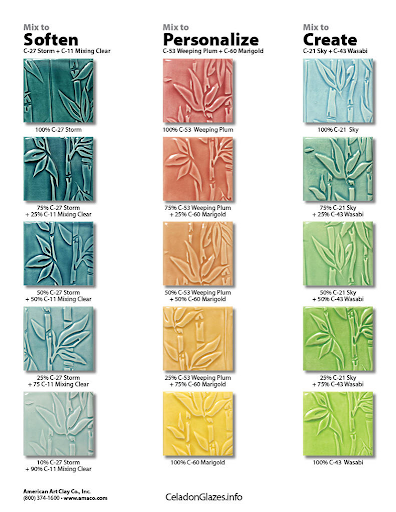
Celadons are the only glazes that can be mixed or layered! All other glazes can only be layered.
Directions:
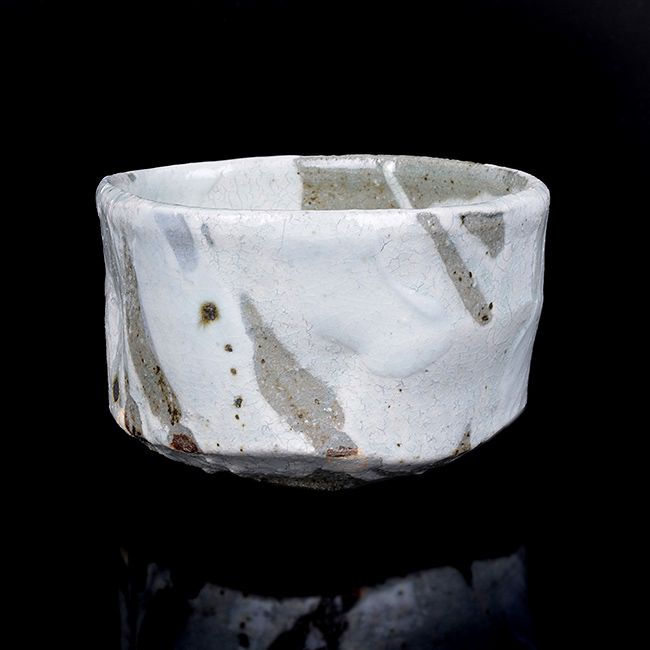
Celadon originated in China and some wares that have been discovered date right back to the Eastern Han Dynasty (the second imperial dynasty of China), from around 25 to 220 AD. In China today and through its history, jade (sometimes known as Emperor’s Stone) is highly significant. In 3000 BC, it even became known as the ‘royal gem’. The symbolism of jade includes status, spirituality, purity and health. Celadon really came about from years of master potters trying to replicate jade’s exquisite coloring for ceramics.
The term celadon really has two different examples, firstly, it’s known as the beautiful and iconic jade green (or pale green/blue) colored glaze, however, it can also be applied to other transparent glazes.
test tiles from last week.
Celadons are the only glazes that can be mixed or layered! All other glazes can only be layered.
Directions:
- Take out your two or more slip tiles from last week, that have been fired to bisque (slip brushwork and slip trailing)
- Choose your celadons
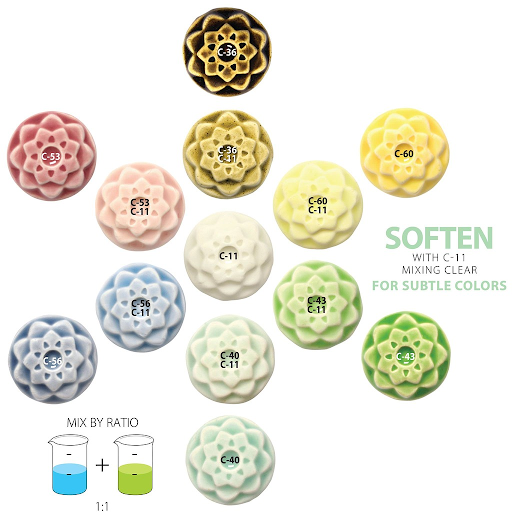
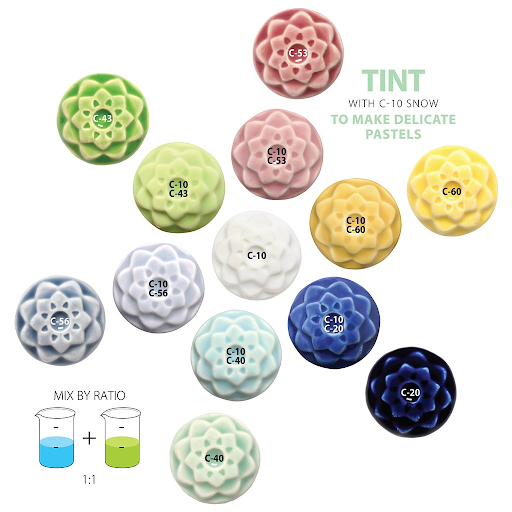
- On one tile apply two celadons mixed together in a small cup-you can share at your table. Save left over glaze with a lid and label it with the two colors.
- On the other tile apply one celadon glaze mixed with MIXING CLEAR to lighten the glaze.
Celadon originated in China and some wares that have been discovered date right back to the Eastern Han Dynasty (the second imperial dynasty of China), from around 25 to 220 AD. In China today and through its history, jade (sometimes known as Emperor’s Stone) is highly significant. In 3000 BC, it even became known as the ‘royal gem’. The symbolism of jade includes status, spirituality, purity and health. Celadon really came about from years of master potters trying to replicate jade’s exquisite coloring for ceramics.
The term celadon really has two different examples, firstly, it’s known as the beautiful and iconic jade green (or pale green/blue) colored glaze, however, it can also be applied to other transparent glazes.
Celadons are the only glazes that can be mixed or layered! All other glazes can only be layered.
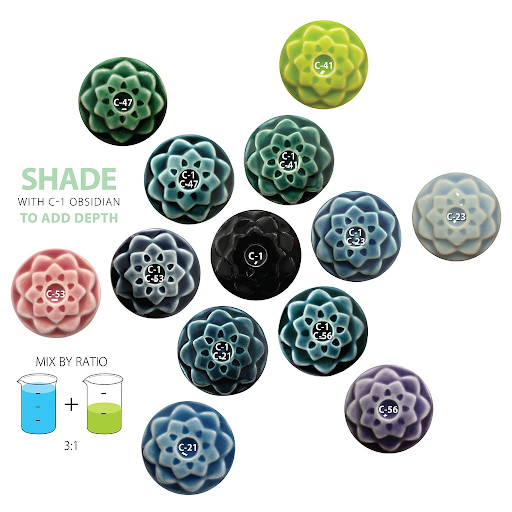
Layering: Celadons can be layered with themselves or other glazes or they can be mixed with other celadons.
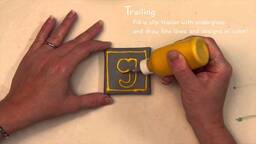
Test Tile Thursday # 6: Underglazes and Slip trailing
Underglazes are like paint, they do not melt during firing. Underglazes stay true to the color in the jar. They can go on greenware or bisqueware. Coat with a clear or translucent glaze and refire to make them food safe.
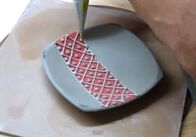
Slip Trailing: squeezing slip or underglaze out of a bottle to create designs.
Underglaze Slip Trailing
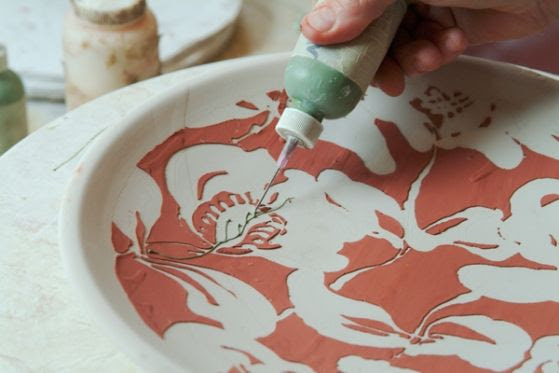
Slip Trailing with Slips: Creates a Raised Surface
|
|
Kristen Kieffer: Slip Trailing with Slips
Part One: Applying Underglaze and Slip Trailing
- Make two greenware test tiles: wet or leather hard.
- Smooth the surface.
- Write your name and class shape on the back.
- Apply a coat of underglaze, let dry a bit.
- Apply another coat if needed (underglaze does not need 3 coats!) Let dry
- Use the slip trail bottles to draw a design.
- Take a photo, upload to Google Classroom.
- Put in Kiln Room to fire.
Part Two : Applying Underglaze and Clear Glaze at the Bisque Stage.
- Take your bisque fired tiles out from last week. Apply underglaze layers to look like your real object on the tile with the layering from last week. Let dry.
- Add more slip trail design on the other tile. Let dry.
- Apply 3 coats of CLEAR glaze on HALF of each tile.
Take a photo, upload to Google Classroom when out of kiln.
Test Tile Thursday # 7:
|
Group Abstraction Practice Test Tiles Two table groups each will create a sample tile for abstraction. Tables 1 & 2: Layering and Sanding Underglazes
NOTE: It is important to apply this surface decoration only to the outside of vessels or in areas that do not come in contact with food or drink unless you plan to apply three layers of clear or transparent glaze. Tables 3 & 4: Underglaze Slip Trailing on Stamped Designs.
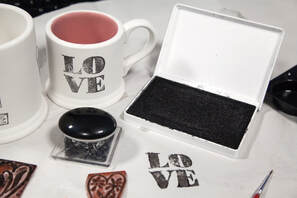
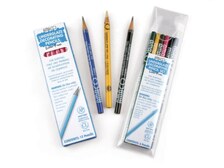
Tables 5 & 6: Underglaze Stamp Pad and Underglaze Pencil Designs
Tables 7 & 8: Underglaze Rice Transfer Paper
|
Michael Sherrill, Underglaze Layering and Sanding

|
Test Tile Thursday # :8
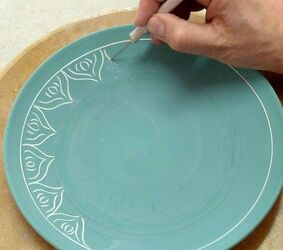
Sgrafitto
Sgrafitto
Test Tile Techniques: # 9
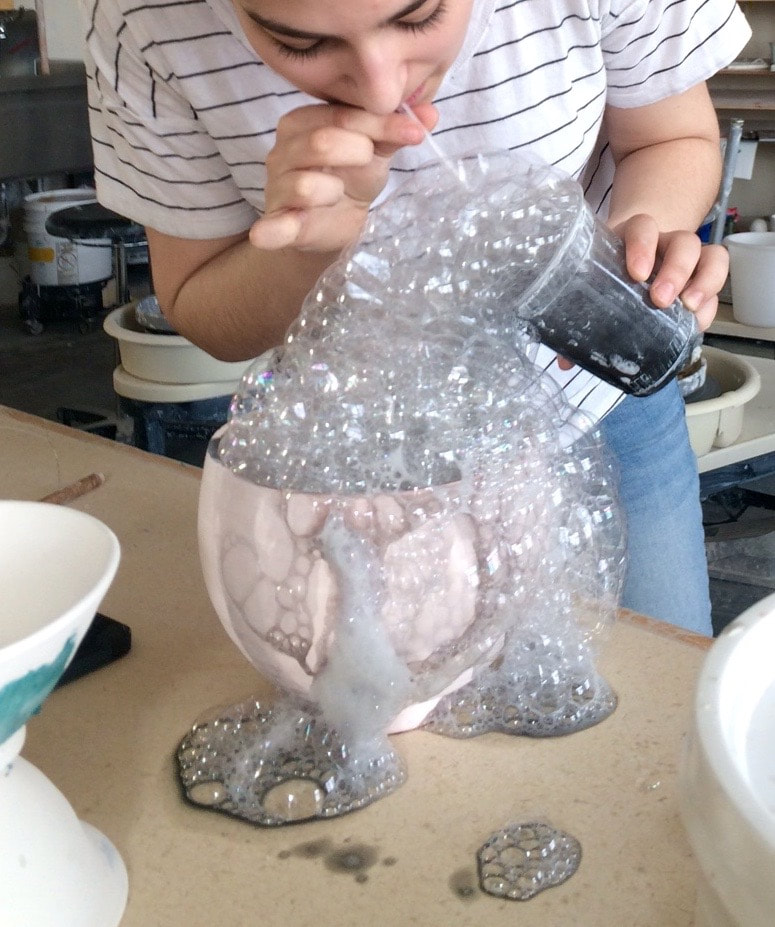
Bubble Glazing and Shaving Cream Marbling
Bubble Glazing and Shaving Cream Marbling

Test Tile Techniques: # 10 hard and Soft Resists
Hard and Soft Resist
• Wax crayon – scratchy, “crayon-y” line
• Chunk of wax or a candle – you can adjust the width of the line by choosing bigger or smaller pieces
• Oil pastels – similar line to wax but fatter, and you can also use it sideways.
• Leftover chocolate – Different kinds of chocolate make different kinds of lines; the harder, the more scratchy, the softer, the fatter the line.
Soft Resists• Full strength white glue, wood glue or any acrylic glue – trail like slip or dilute for brushing
• Lipstick – makes a nice greasy line
• Acrylic artist’s medium
• Liquid beeswax – nice to decorate with and works in a pinch for waxing bottoms or feet
• Paste wax or Vaseline – good for smudgy marks when applied with a cloth or fingers
Other Resists
• Tape
• Leaf or flat plant parts
• Paper
- 1. Create at least one test tile using a resist method
- 2. Write your name and class shape on your tile with an underglaze pencil or an underglaze slip trail bottle.
- Apply one resist technique (let dry) and then three layers of glaze over the surface of your resist.
- Take a picture of your tile before it gets fired and upload it to Google Classroom.
- Place your test tile on the metal shelves (to be glaze fired shelves) in the kiln room.
• Wax crayon – scratchy, “crayon-y” line
• Chunk of wax or a candle – you can adjust the width of the line by choosing bigger or smaller pieces
• Oil pastels – similar line to wax but fatter, and you can also use it sideways.
• Leftover chocolate – Different kinds of chocolate make different kinds of lines; the harder, the more scratchy, the softer, the fatter the line.
Soft Resists• Full strength white glue, wood glue or any acrylic glue – trail like slip or dilute for brushing
• Lipstick – makes a nice greasy line
• Acrylic artist’s medium
• Liquid beeswax – nice to decorate with and works in a pinch for waxing bottoms or feet
• Paste wax or Vaseline – good for smudgy marks when applied with a cloth or fingers
Other Resists
• Tape
• Leaf or flat plant parts
• Paper
Paper Resist
Piercing: Carving out areas
Applique or Sprigging: adding pieces
Marbling Printing on Clay
Other Surface Decoration Methods
Sgraffito/Mishima apply underglaze/ colored slip, incise clay; incise clay, apply underglaze, scrape surface
Masking- a decorative technique where masking tape is applied to bisque ware, glazed, waxed, then masking removed to reveal the pattern. A contrasting glaze is then applied where the masking tape once was.
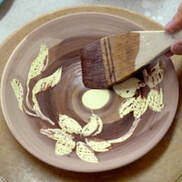
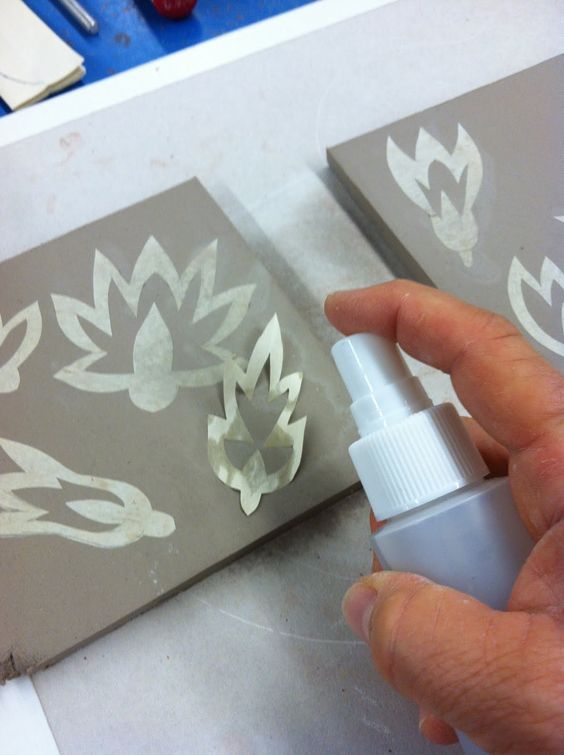
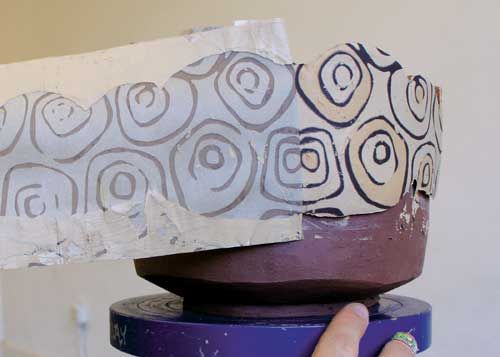
Stencil- A traditional method for applying stencils is to cut or tear paper shapes, adhere them to leather-hard clay and then apply slip over the entire clay surface. Once the slip dries, the paper is peeled away to reveal the design.
Marbling- a decorative technique where at least 2 different materials are mixed together and produce a swirl type effect or marbling with glazes
Print Transfer- a method of applying glaze or slip onto the clay surface with indirect methods
Sgraffito/Mishima apply underglaze/ colored slip, incise clay; incise clay, apply underglaze, scrape surface
Masking- a decorative technique where masking tape is applied to bisque ware, glazed, waxed, then masking removed to reveal the pattern. A contrasting glaze is then applied where the masking tape once was.
Stencil- A traditional method for applying stencils is to cut or tear paper shapes, adhere them to leather-hard clay and then apply slip over the entire clay surface. Once the slip dries, the paper is peeled away to reveal the design.
Marbling- a decorative technique where at least 2 different materials are mixed together and produce a swirl type effect or marbling with glazes
Print Transfer- a method of applying glaze or slip onto the clay surface with indirect methods
