|
Ceramics 2 Test Tile Thursdays
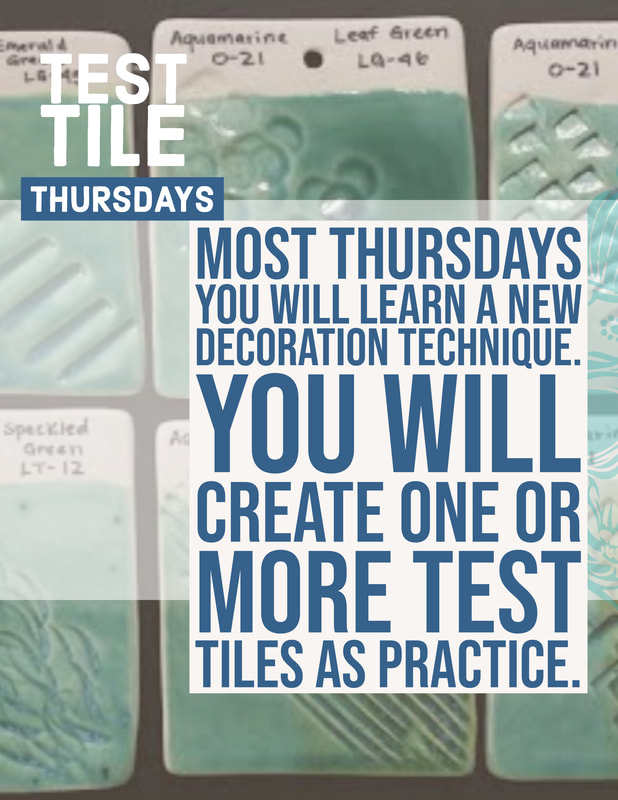
Test Tile Thursdays
|
Content Objective
Students will:
Students will: Define the elements of art and principles of design with a partner through test tile making and drawings in their sketchbooks
|
Test Tile Thursday # 1:
Teach a Method-see left in menu
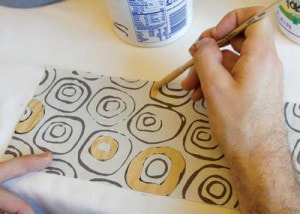
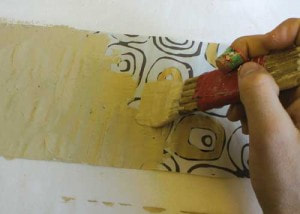
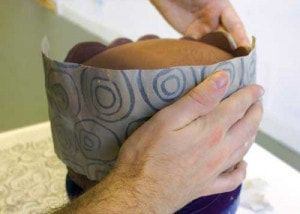
Test Tile Thursday # 2: Clay Monoprinting
Directions: Create two or more tiles or pieces with this method, upload to GC
Directions: Create two or more tiles or pieces with this method, upload to GC

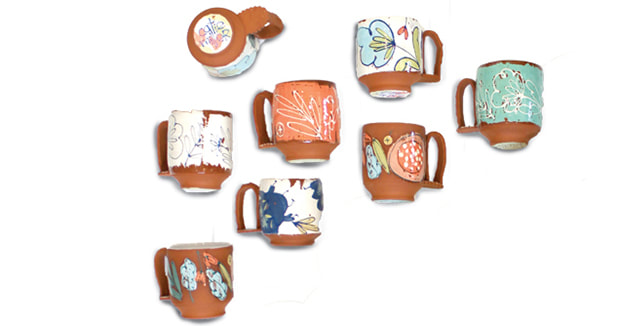
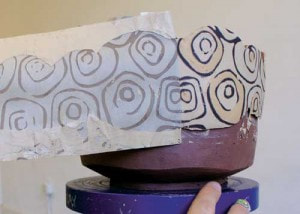
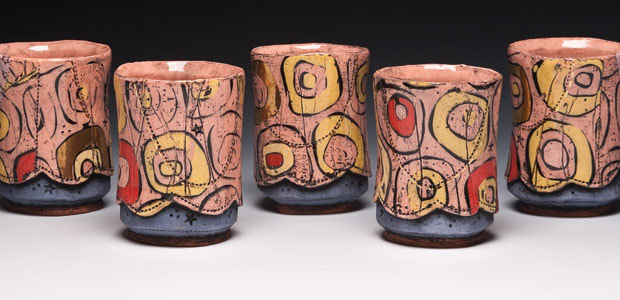
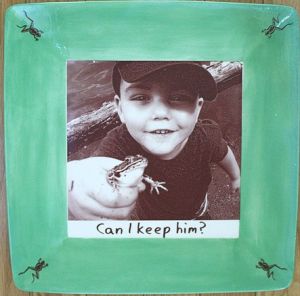
Student Examples
Test Tile Thursday # 3: Color Theory and
Mixing your own Colored Slips
Mixing your own Colored Slips
Test Tile Thursday # 3:
Color Theory and
Mixing your own slip colors
Color Theory and
Mixing your own slip colors
Directions: Create two or more tiles or pieces with your own colored slips, you can also do sgrafttio or other techniques with slips , upload to GC
Test Tile Thursday # 4:
Decals and Transfers
Decals and Transfers
Directions: Create two or more tiles or use pieces to practice decals (many of you have already done rice paper transfer).
1. Fired on Images on Greenware or Glazeware
2. Overglaze Decals
1. Fired on Images on Greenware or Glazeware
2. Overglaze Decals

Transfers
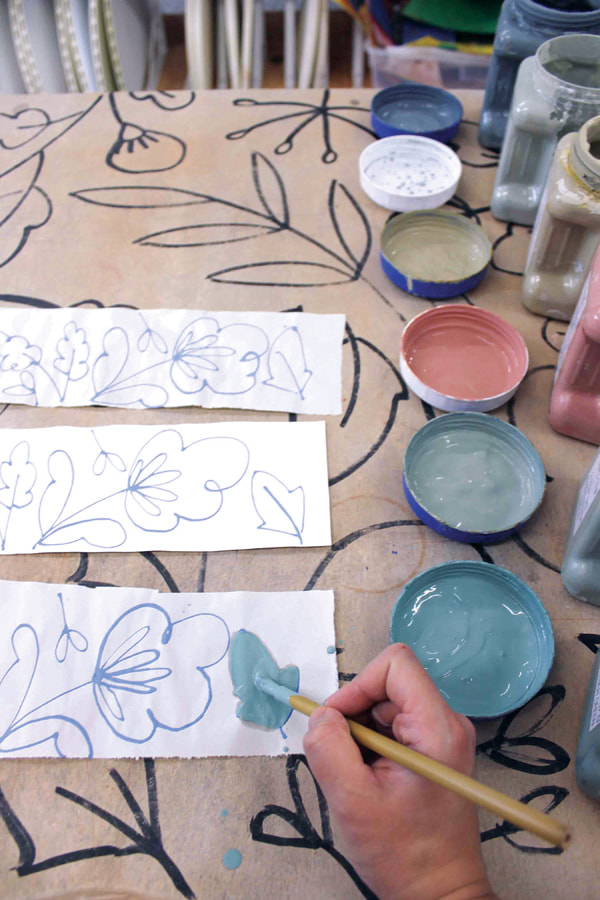
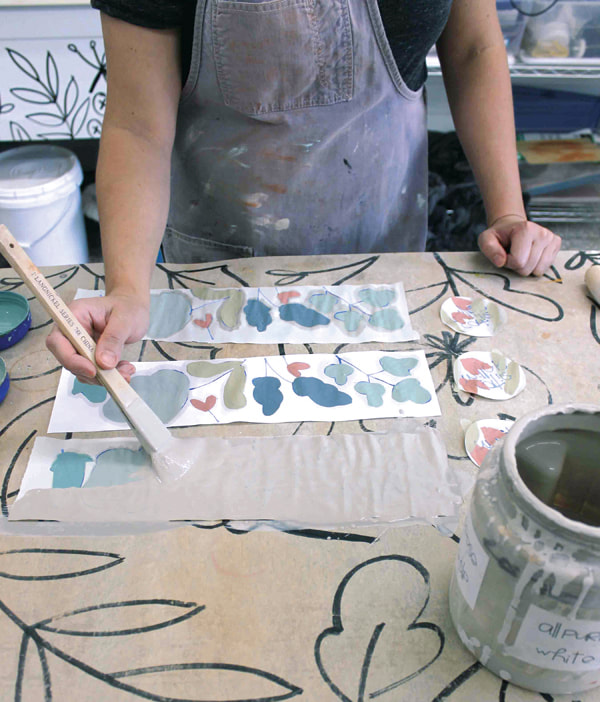
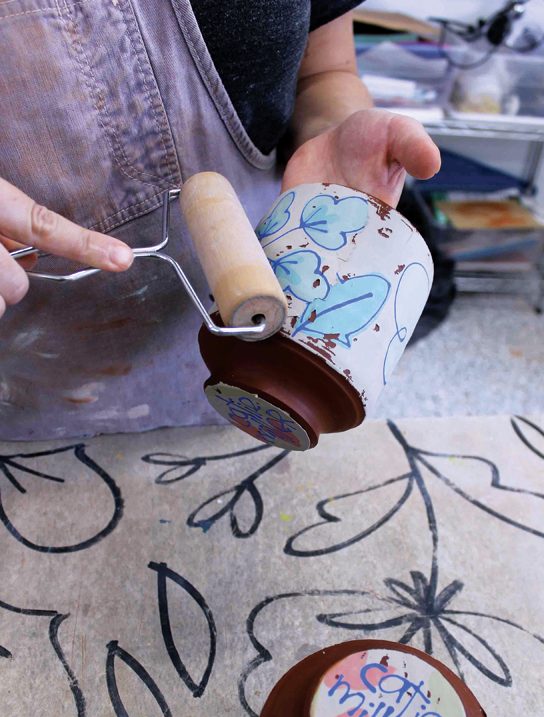
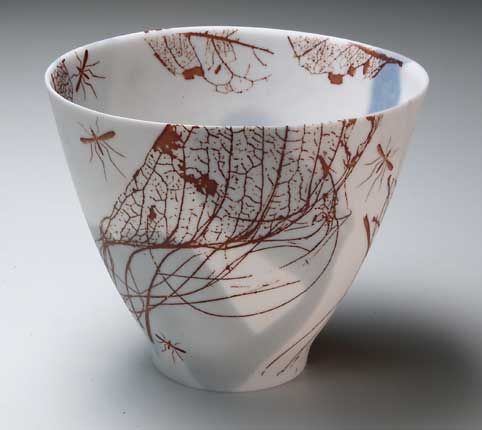
Food Safe Rice Paper Transfer Images
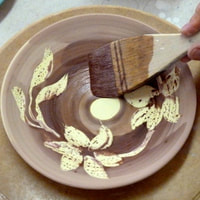
These are underglaze decals designed to be used on green ware or bisqueware because they are made with underglazes!. To use, hold the underglaze bearing side of the decal against the pot, stroke with a damp sponge to transfer 100% of the oxide from the paper to the pot, peel the paper away. These have a firing range of cone 04-11
Food Safe Rice Paper Transfer Images
These are underglaze decals designed to be used on green ware or bisqueware because they are made with underglazes!. To use, hold the underglaze bearing side of the decal against the pot, stroke with a damp sponge to transfer 100% of the oxide from the paper to the pot, peel the paper away. These have a firing range of cone 04-11
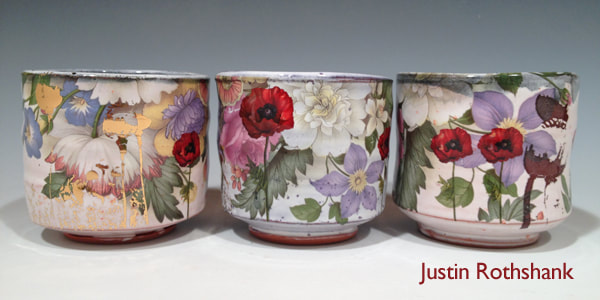
Ceramic Decals are made of a special water slide and heat release paper that transfers images from paper to ceramics or glass. Decals are a fun way to personalize your own work.
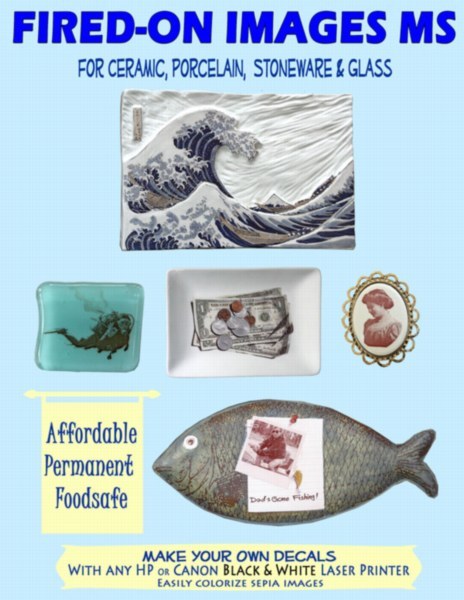
FOOD SAFE- Decal Paper- Fired-On Images
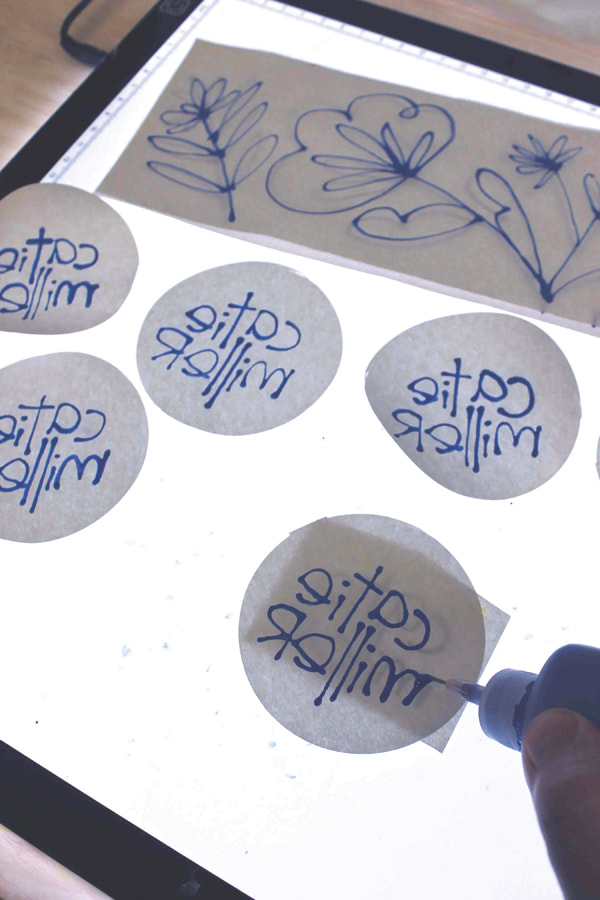
Fired On Images decal paper allows you to the freedom to create your own low cost decals at home. Print your own images onto the decal paper.
High quality graphics, text, handwriting, and photos
Can go on Greenware and Bisqueware
Is laboratory-tested permanent, food safe, and dishwasher safe.
Fired On Images decal paper allows you to the freedom to create your own low cost decals at home. Print your own images onto the decal paper.
High quality graphics, text, handwriting, and photos
Can go on Greenware and Bisqueware
Is laboratory-tested permanent, food safe, and dishwasher safe.
|
|
NOT FOOD SAFE- OVERGLAZE DECALS
Overglaze Decals are designs that can be applied to glazed work. You see them on commercial mugs that have sayings or pictures on them. But they are also available in very attractive, intricate designs. Some Decals are made from overglazes which fire at a low temperature. Our OVERGLAZE decals are NOT FOOD SAFE!
OVERGLAZE DECALS: THE BASIC PROCESS
First you bisque and glaze fire your piece. You should use light colored glaze so the decals shows well. Make sure the surface is free of dust, fingerprints, etc.
Trim the decal and soak it in room temperature water. The decal is attached to a paper backing. Soon it will start to peel up on the edges, which means it is ready. This will probably take about 30-60 seconds. The decal may curl up a lot at first, but will then relax then release from the paper. If you’re not sure if it is ready see if it slips easily. Don’t move it too much though or it may tear. If you are not quite ready for the decal, rest it on a towel.
When you are ready, moisten your piece, lay one edge of the decal on your piece, and slide paper away from underneath the decal, leaving the decal there. It may be helpful to use a banding wheel, especially if you are applying several decals such as borders. You can slide the decal around to place it, but be careful of tearing it as it will be very fragile.
Next you need to remove all the air and water from beneath the decal. Start by dabbing with a damp sponge, then blot dry with paper towels. Work the bubbles out the sides. Make sure there are no air bubbles trapped, or the decal will not adhere there. If there is a bubble once the piece is dry, prick with a pin, drip some water over it, and smooth over.
Directions for Milestone Overglaze decals
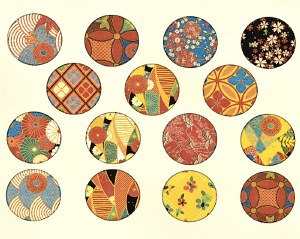
Milestone Decal Art LLC! These easy-to-use decals come in a wide variety of patterns, ranging from cool little bikes and boomboxes to beautiful flowers, birds, insects, and trees. These decals are now available in a variety of flat colors – see the pull-down menu for each design for color availability. Also be sure to check out our gold- and silver-luster decals if you’re looking to add a little metallic shine to your work!
Each decal sheet measures 4” x 5.25”, and features several decals that can be cut out and applied to your glazed works.
Applying your decal:
1. Begin by removing the wax paper that is protecting the decal, if present. (If it is present, it will be obvious, don’t worry!)
2. The decals are water slide release, which means that the decal is printed on paper that is coated with a water-release adhesive made out of cornstarch. Thoroughly wet the decal in a bowl of warm water until it uncurls – this usually takes 30 seconds to one minute. Do NOT let the decal sit for more than a minute or two in the water!
3. Place the wet decal on top of your glazed ware. You should find that the decal releases easily from the backing paper with little or no resistance. If you find that the decal is not releasing, however, quickly re-wet and allow the decal another few seconds to allow the glue to soften.
4. When properly wetted, the decal will slide straight from the backing paper and should NOT be flipped over. Gently position the decals as desired on clean, glazed ware. Using a small squeegee (a soft rubber rib is great for this), and a lint-free cloth, gently press and push the water from the center of the decal toward the edge of the decal. You should follow a clockwise motion around the piece, starting with a gentle push and increasing the pressure by increments at the end of each rotation. Ideally, your goal here is to squeeze all water and air bubbles from underneath the decal.
5. Once applied, you shouldn’t be able to move the decal. Clean the surface with a damp, lint-free towel to remove any water marks, and then use a dry lint-free towel to wipe it clean. We suggest allowing the decorated wares to sit in a dry environment overnight, or wait at LEAST a couple of hours before firing.
Other Surface Decoration Methods
Masking- a decorative technique where masking tape is applied to bisque ware, glazed, waxed, then masking removed to reveal the pattern. A contrasting glaze is then applied where the masking tape once was.
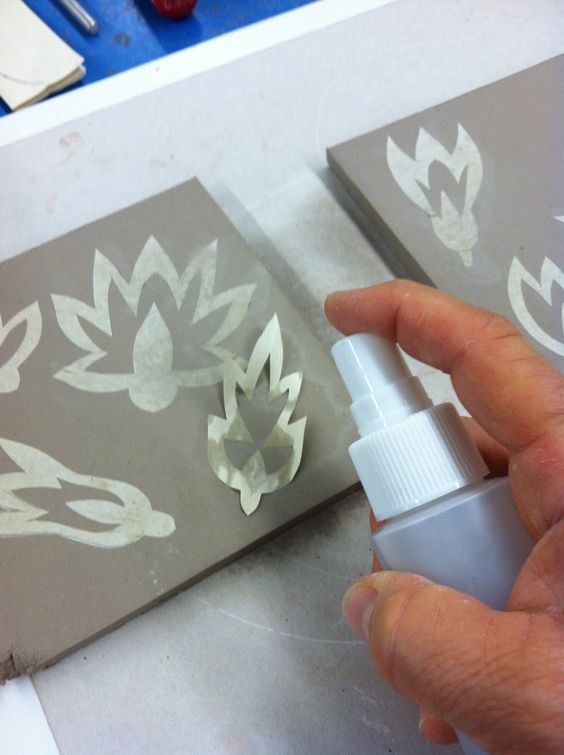
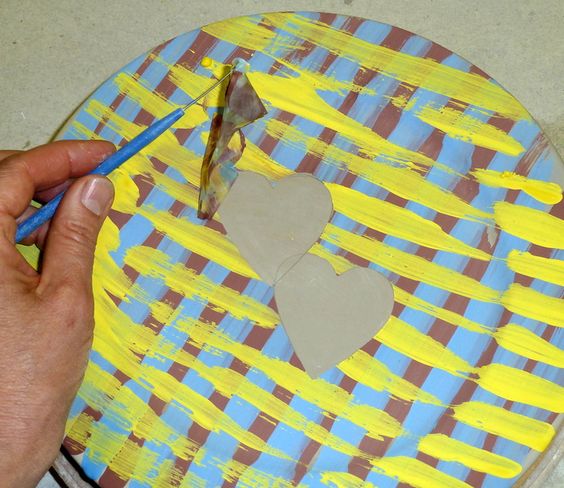
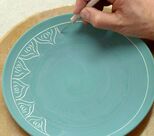
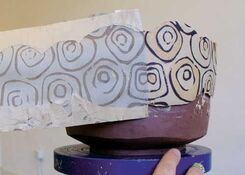
Stencil- A traditional method for applying stencils is to cut or tear paper shapes, adhere them to leather-hard clay and then apply slip over the entire clay surface. Once the slip dries, the paper is peeled away to reveal the design.
Marbling- a decorative technique where at least 2 different materials are mixed together and produce a swirl type effect or marbling with glazes
Print Transfer- a method of applying glaze or slip onto the clay surface with indirect methods
Masking- a decorative technique where masking tape is applied to bisque ware, glazed, waxed, then masking removed to reveal the pattern. A contrasting glaze is then applied where the masking tape once was.
Stencil- A traditional method for applying stencils is to cut or tear paper shapes, adhere them to leather-hard clay and then apply slip over the entire clay surface. Once the slip dries, the paper is peeled away to reveal the design.
Marbling- a decorative technique where at least 2 different materials are mixed together and produce a swirl type effect or marbling with glazes
Print Transfer- a method of applying glaze or slip onto the clay surface with indirect methods
EXPLORE SURFACE DECORATIONS
- Wax resist: apply wax with brush; let dry; apply underglaze; wipe off extra from wax resist
Slip Trailing: use applicator of slip to add a design to surface
Sgraffito/Mishima" apply underglaze/ colored slip, incise clay; incise clay, apply underglaze, scrape surface
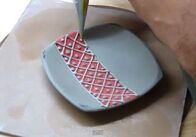
Paper Transfer -underglaze: apply underglaze to paper, spray water to wet clay surface, & to wet underglaze; sandwich